Configuration & Setup
Deployed Components & Features
The Ekai Native App deploys the following onto your Snowflake account:
Snowpark Container Services
| Service | Purpose |
|---|---|
| Web | UI frontend |
| Backend | Connects application services |
| AI Core | AI functions for schema understanding |
| Profiler | Data profiling |
| Semantics | Builds understanding of user requirements |
| Support services | Neo4J, MinIO, Redis, Postgres, PgVect — for knowledge graphs, file storage, agent memory, app data, and embeddings |
External Access Integration (EAI) - OPTIONAL
A limited-scope EAI is configured to enable enterprise LLMs. It requests access to:
- Snowflake Computing
- AWS Simple Email Service (account creation emails)
- Google APIs
- Microsoft Azure OpenAI APIs
- DBT Package Hub & Git/GitHub (DBT dependencies)
Warehouse & Compute
- An
XSwarehouseEKAI_APP_WAREHOUSEis created and accessible by the app by default. - An
XScompute pool is created to run the Snowpark Container Services.
1. App Installation
Refer to the Installation guide for full steps.
2. App Configuration
2.1 LLM Configuration
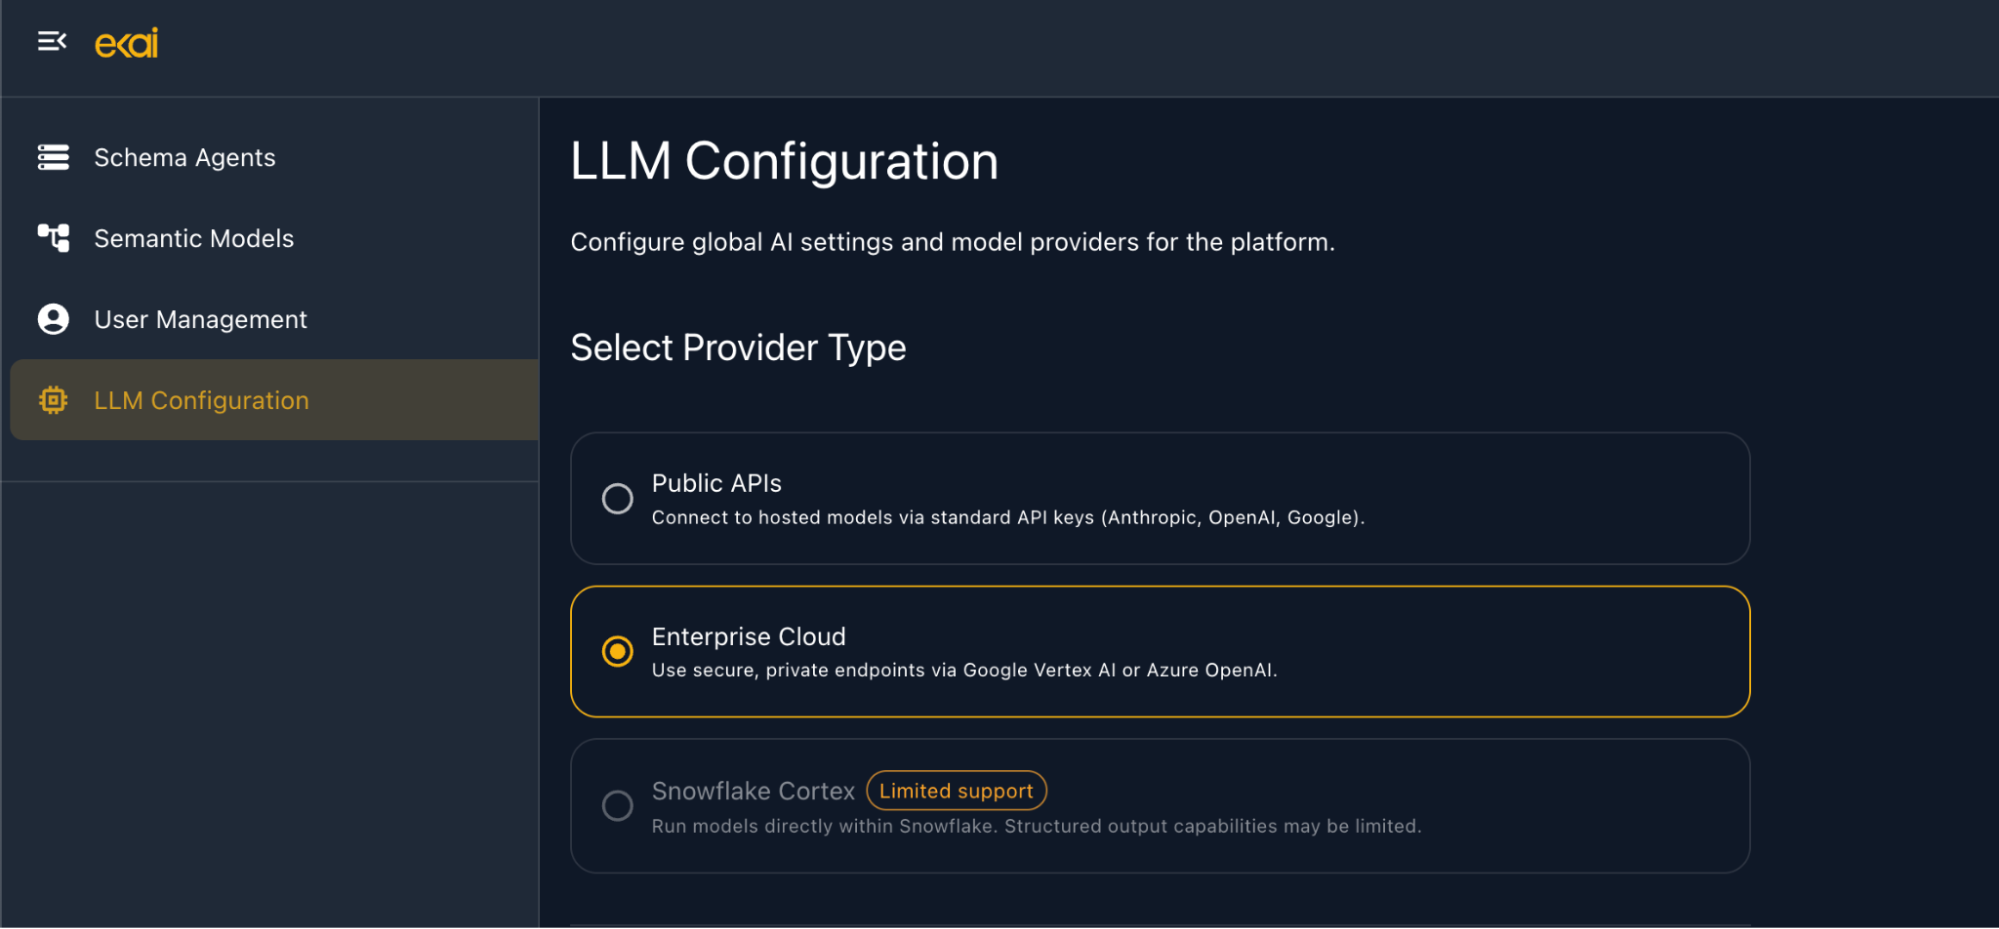
ekai supports three LLM modes:
- Public APIs — provide your own API keys (OpenAI, Anthropic, etc.)
- Enterprise Cloud LLMs — your Azure / GCP deployed models (recommended for confidentiality)
- Snowflake Cortex — coming soon
To configure enterprise LLMs:
-
Navigate to the LLM Configuration tab in the left panel.
-
Select the Enterprise Cloud option from the configuration window.
-
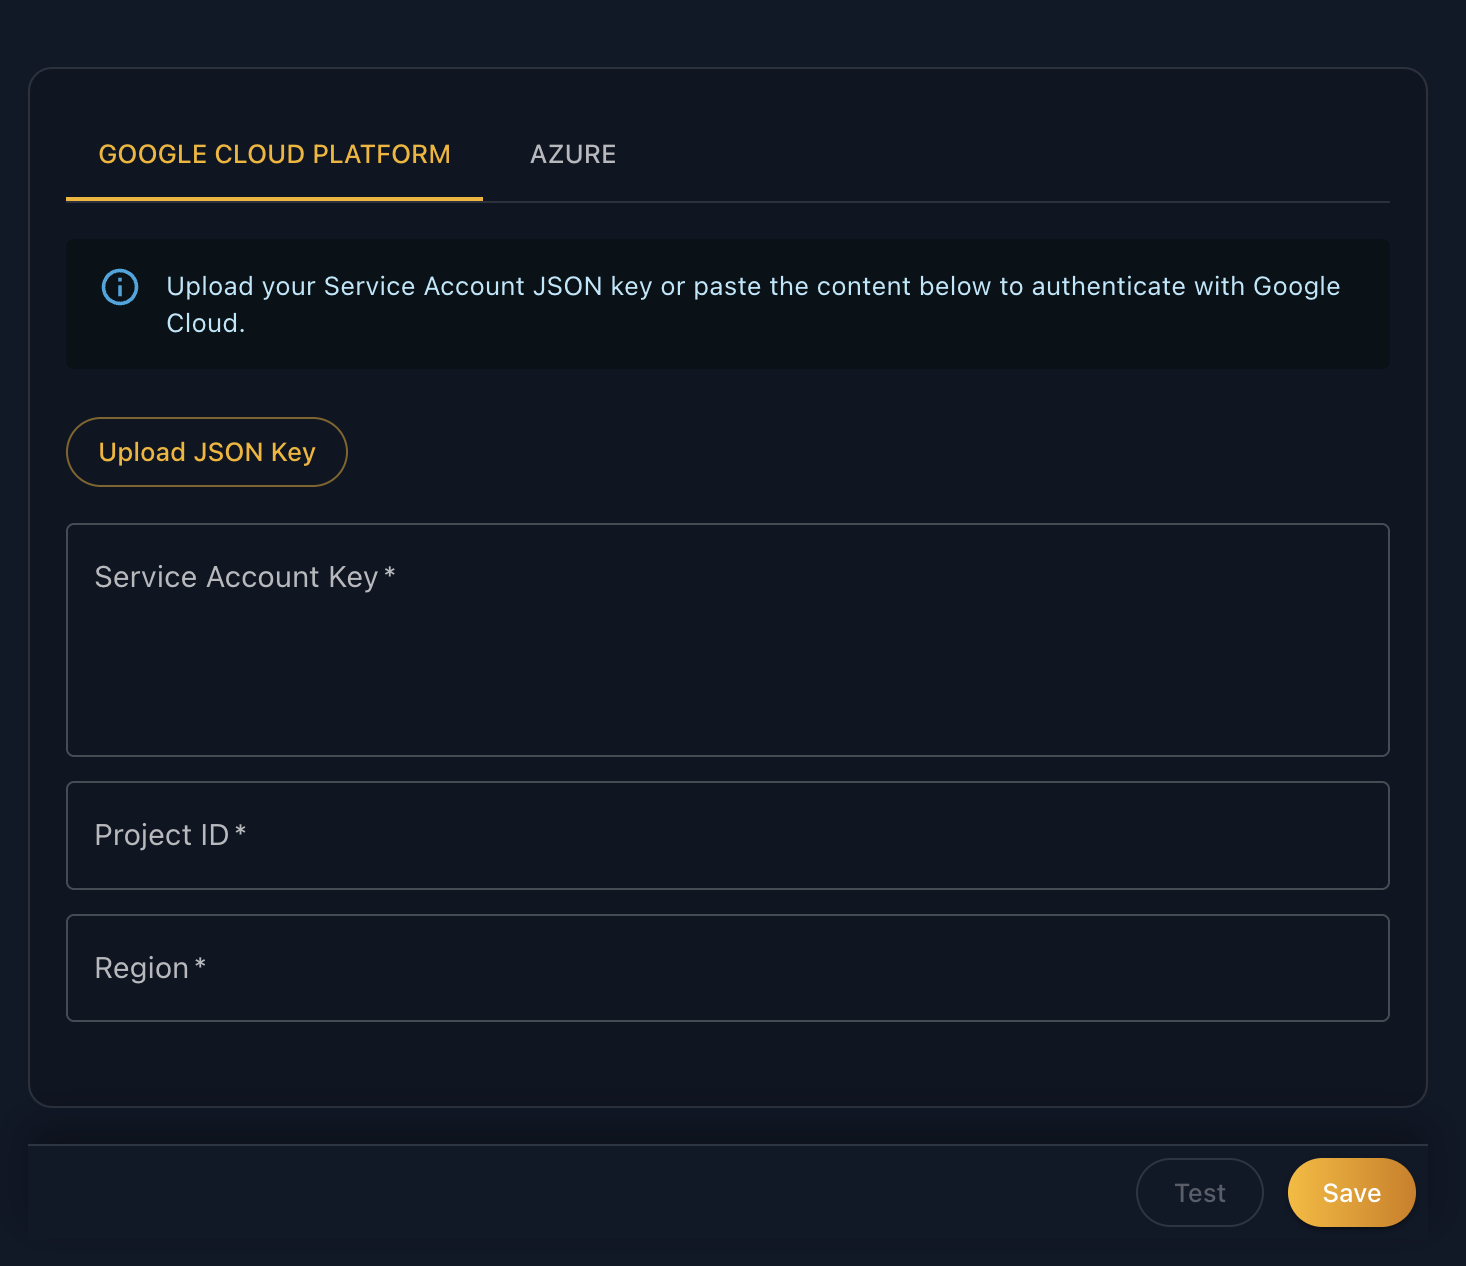
Add GCP credentials by uploading your Google Service Account JSON or filling in the fields manually.
-
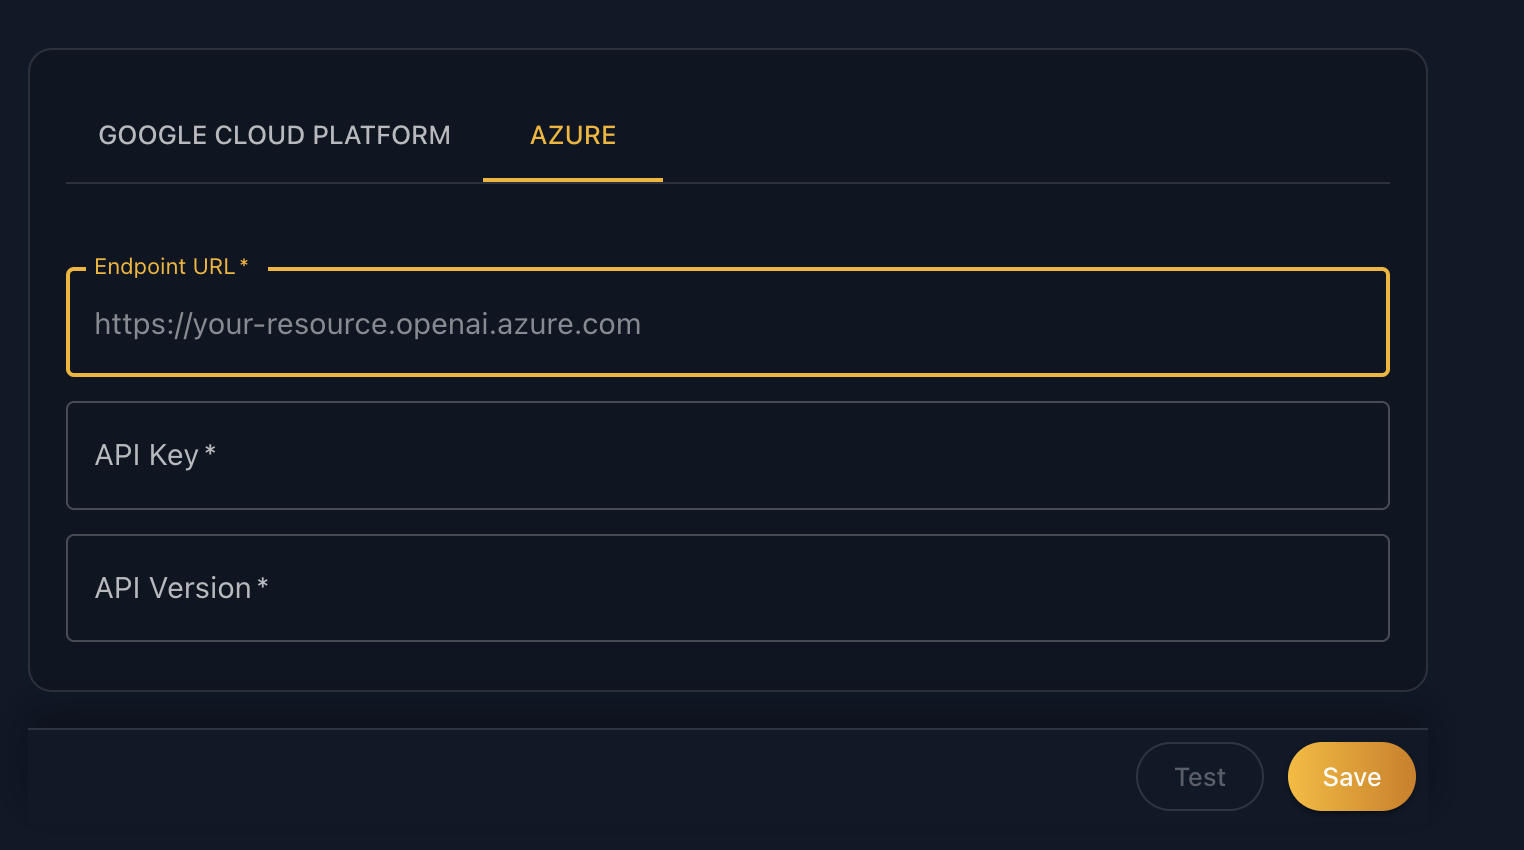
Switch to the Azure tab and enter your Azure OpenAI credentials.
The following models must be available via your cloud accounts:
GCP (Vertex AI)
gemini-3.1-pro-previewclaude-sonnet-4-6claude-haiku-4-6
Azure OpenAI
gpt-5-minitext-embedding-3-small
2.2 Usage Configuration
ekai's usage limits (data connections, semantic models, tables, etc.) are configured per your plan. To activate, share your account identifier with the Ekai team by running:
SELECT CURRENT_ACCOUNT();
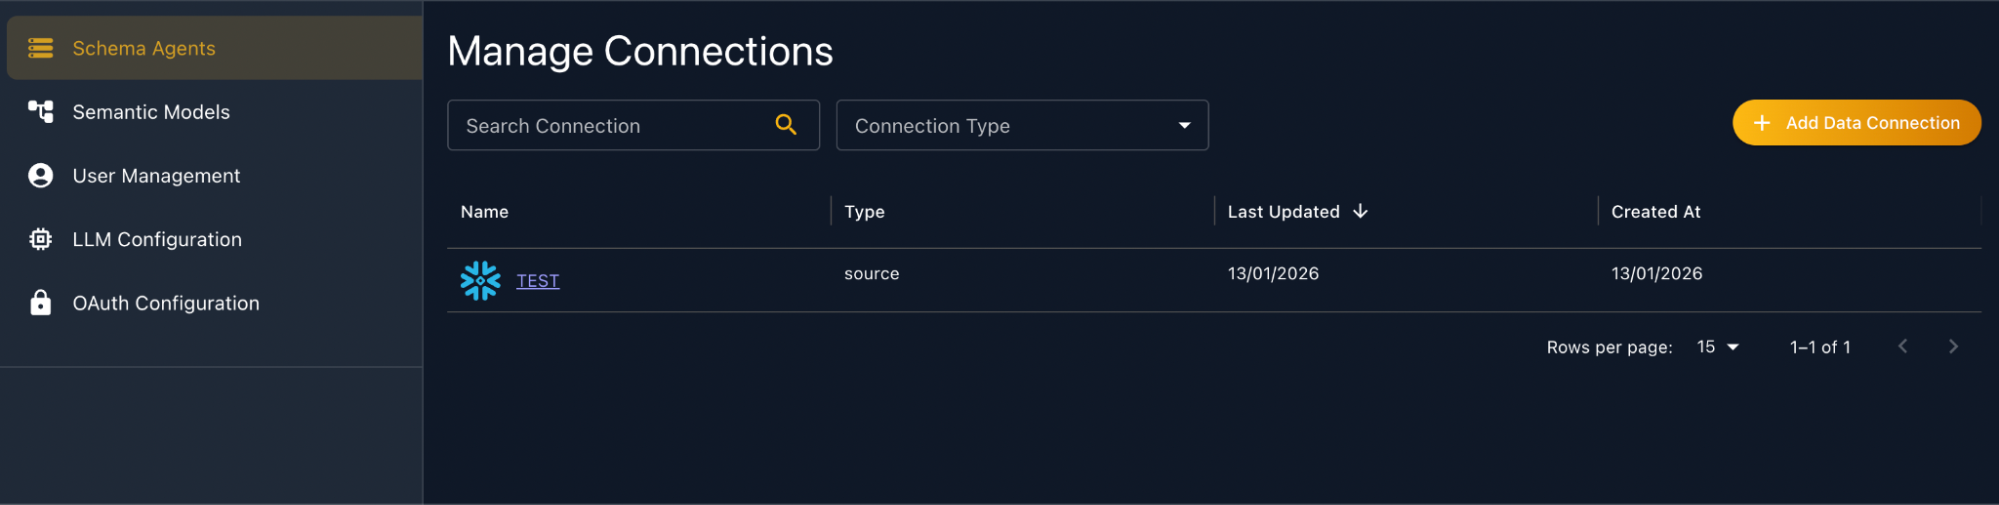
2.3 Data Access Configuration
Data connections are created from the Schema Agents section in the left panel. Ekai supports two ways of connecting to consumers' data:
- User Programmatic Access Token (PAT)
- Native App Identity
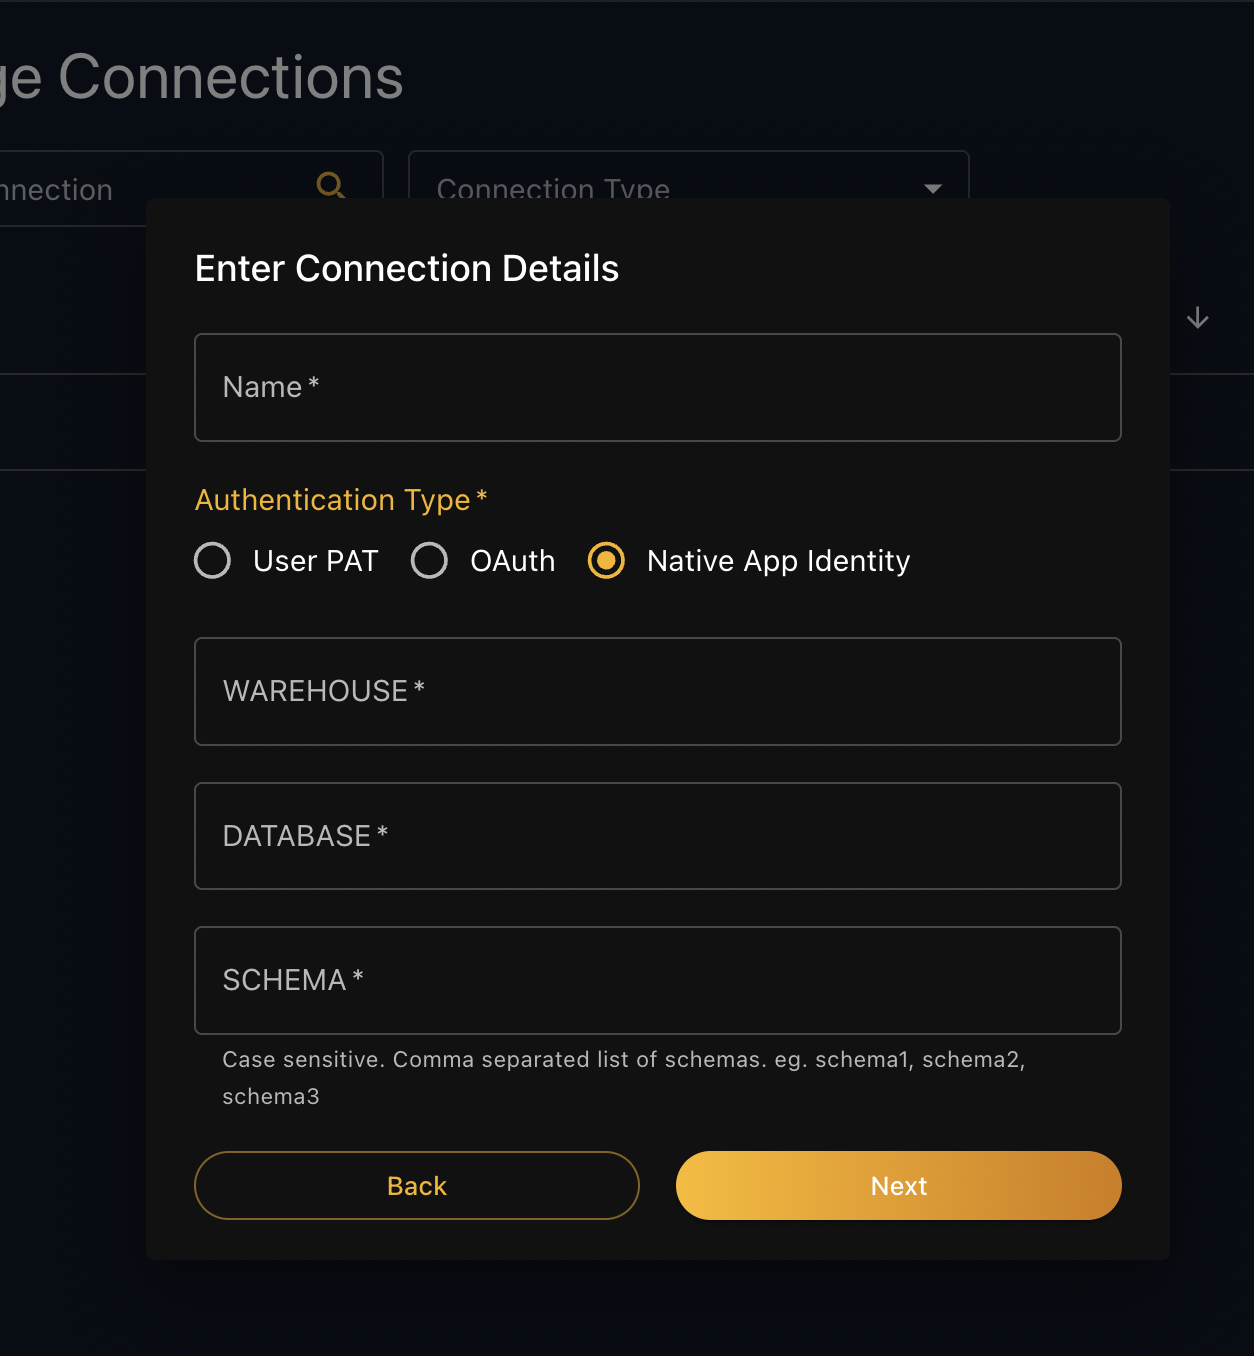
To set up a connection using Native App Identity:
-
Click Add Data Connection in the upper right.
-
Select Native App Identity as the Authentication Type and fill in your connection details. Before clicking Next — ensure the app has access to relevant objects. You can do so with the queries in step 3 below.
-
Grant the app access to your warehouse, database, and schema by running the following SQL as ACCOUNTADMIN if needed:
-- Show Applications to confirm your app/name
SHOW APPLICATIONS;

-- Warehouse
GRANT USAGE ON WAREHOUSE <your-wh> TO APPLICATION <APPLICATION_NAME>;

-- Database
GRANT USAGE ON DATABASE <your-db> TO APPLICATION <APPLICATION_NAME>;

-- Schema
GRANT USAGE ON SCHEMA <your-db.schema> TO APPLICATION <APPLICATION_NAME>;

-- Tables
GRANT SELECT ON ALL TABLES
  IN SCHEMA <your-db.your-schema>
  TO APPLICATION <APPLICATION_NAME>;

-- Views
GRANT SELECT ON ALL VIEWS
  IN SCHEMA <your-db.your-schema>
  TO APPLICATION <APPLICATION_NAME>;

-- Dynamic Tables
GRANT SELECT ON ALL DYNAMIC TABLES
  IN SCHEMA <your-db.your-schema>
  TO APPLICATION <APPLICATION_NAME>;

-- Materialized Views
GRANT SELECT ON ALL MATERIALIZED VIEWS
  IN SCHEMA <your-db.your-schema>
  TO APPLICATION <APPLICATION_NAME>;
- Click Next — your data connection is ready.
3. App Access Control
By default, only ACCOUNTADMIN (the app owner) has access. There are two ways to grant access to other users:
Option A — User Requests Access
-
After the ACCOUNTADMIN has installed the app, other users navigate to the app listing.

-
Instead of Get, they will see Request Access — clicking it notifies the app owner.
-
The app owner receives an email and navigates to App Settings → Access Management to grant the relevant application roles.
Option B — App Owner Grants Access in Advance
-
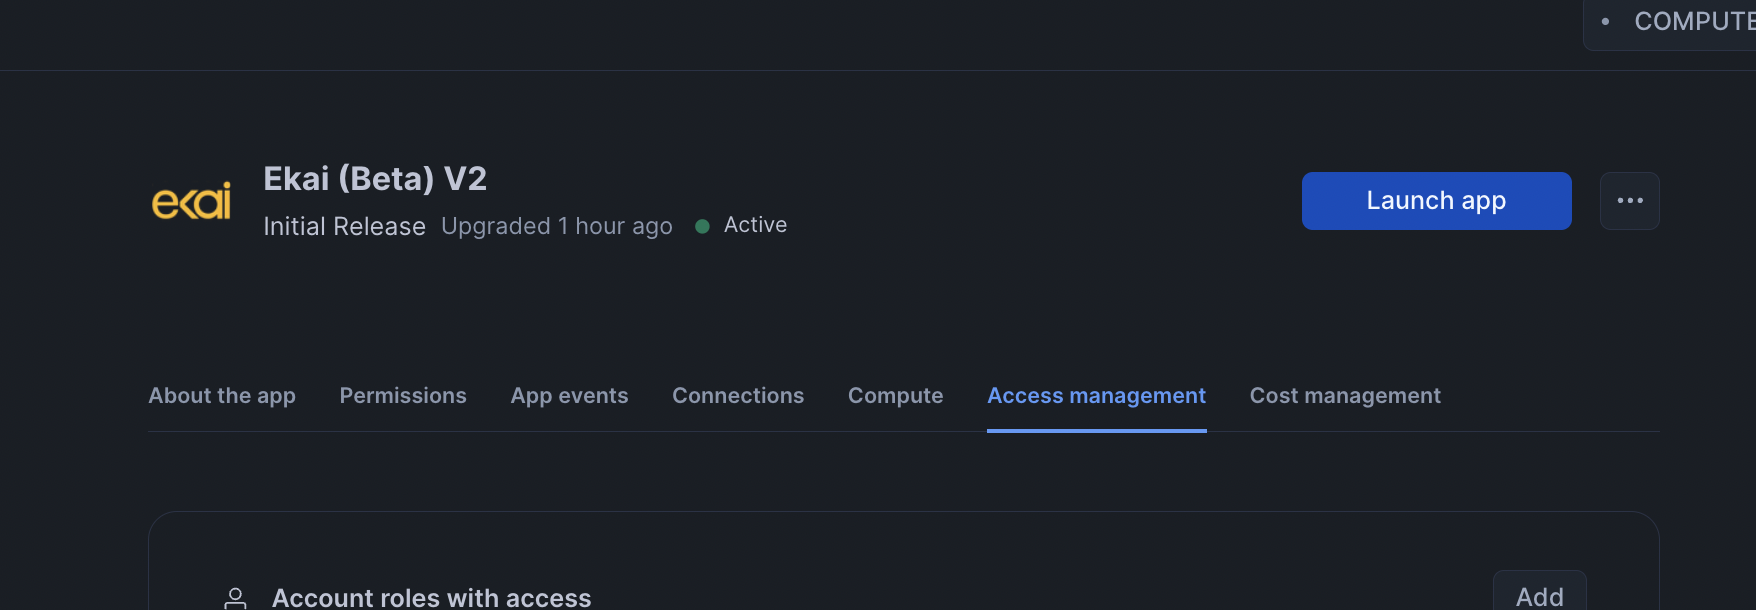
ACCOUNTADMIN opens Catalog → Apps → Active Apps and clicks the app listing to open its settings.
-
Navigate to the Access Management tab.
-
Click Add under Account roles with access and select the roles to grant from the popup.
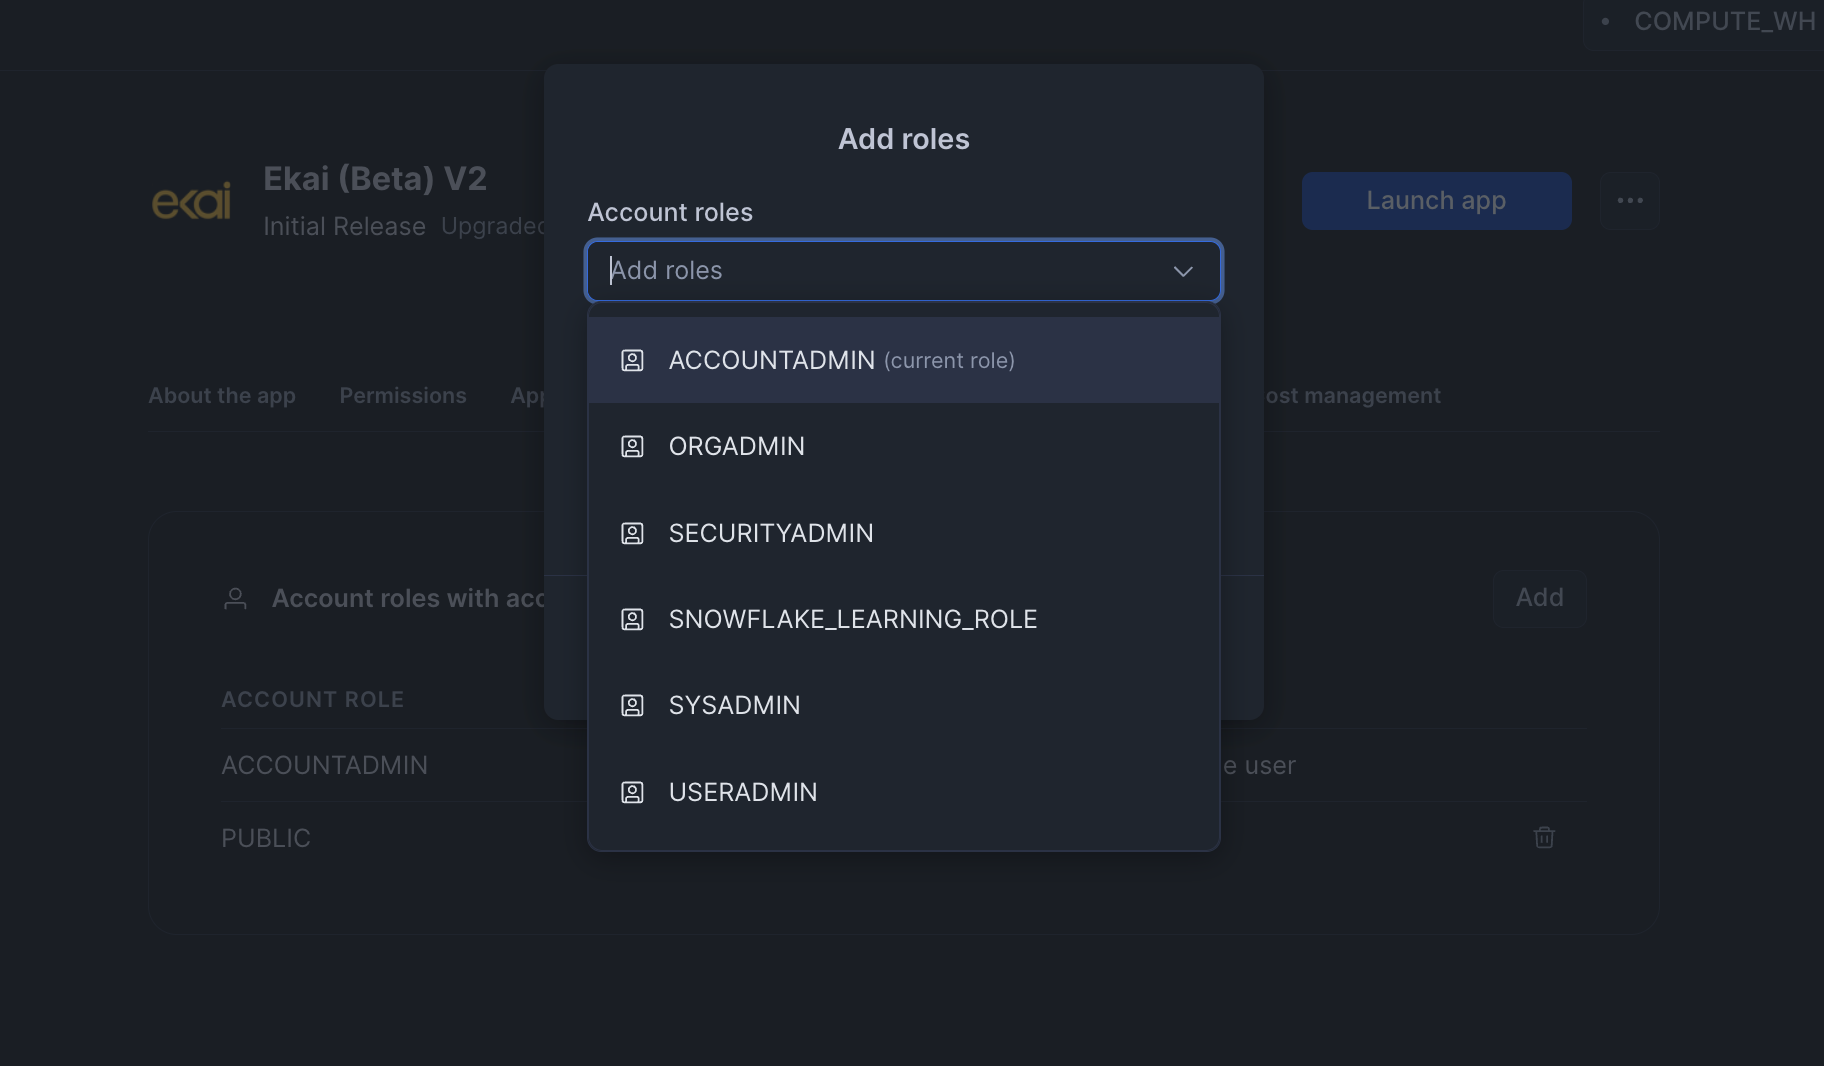
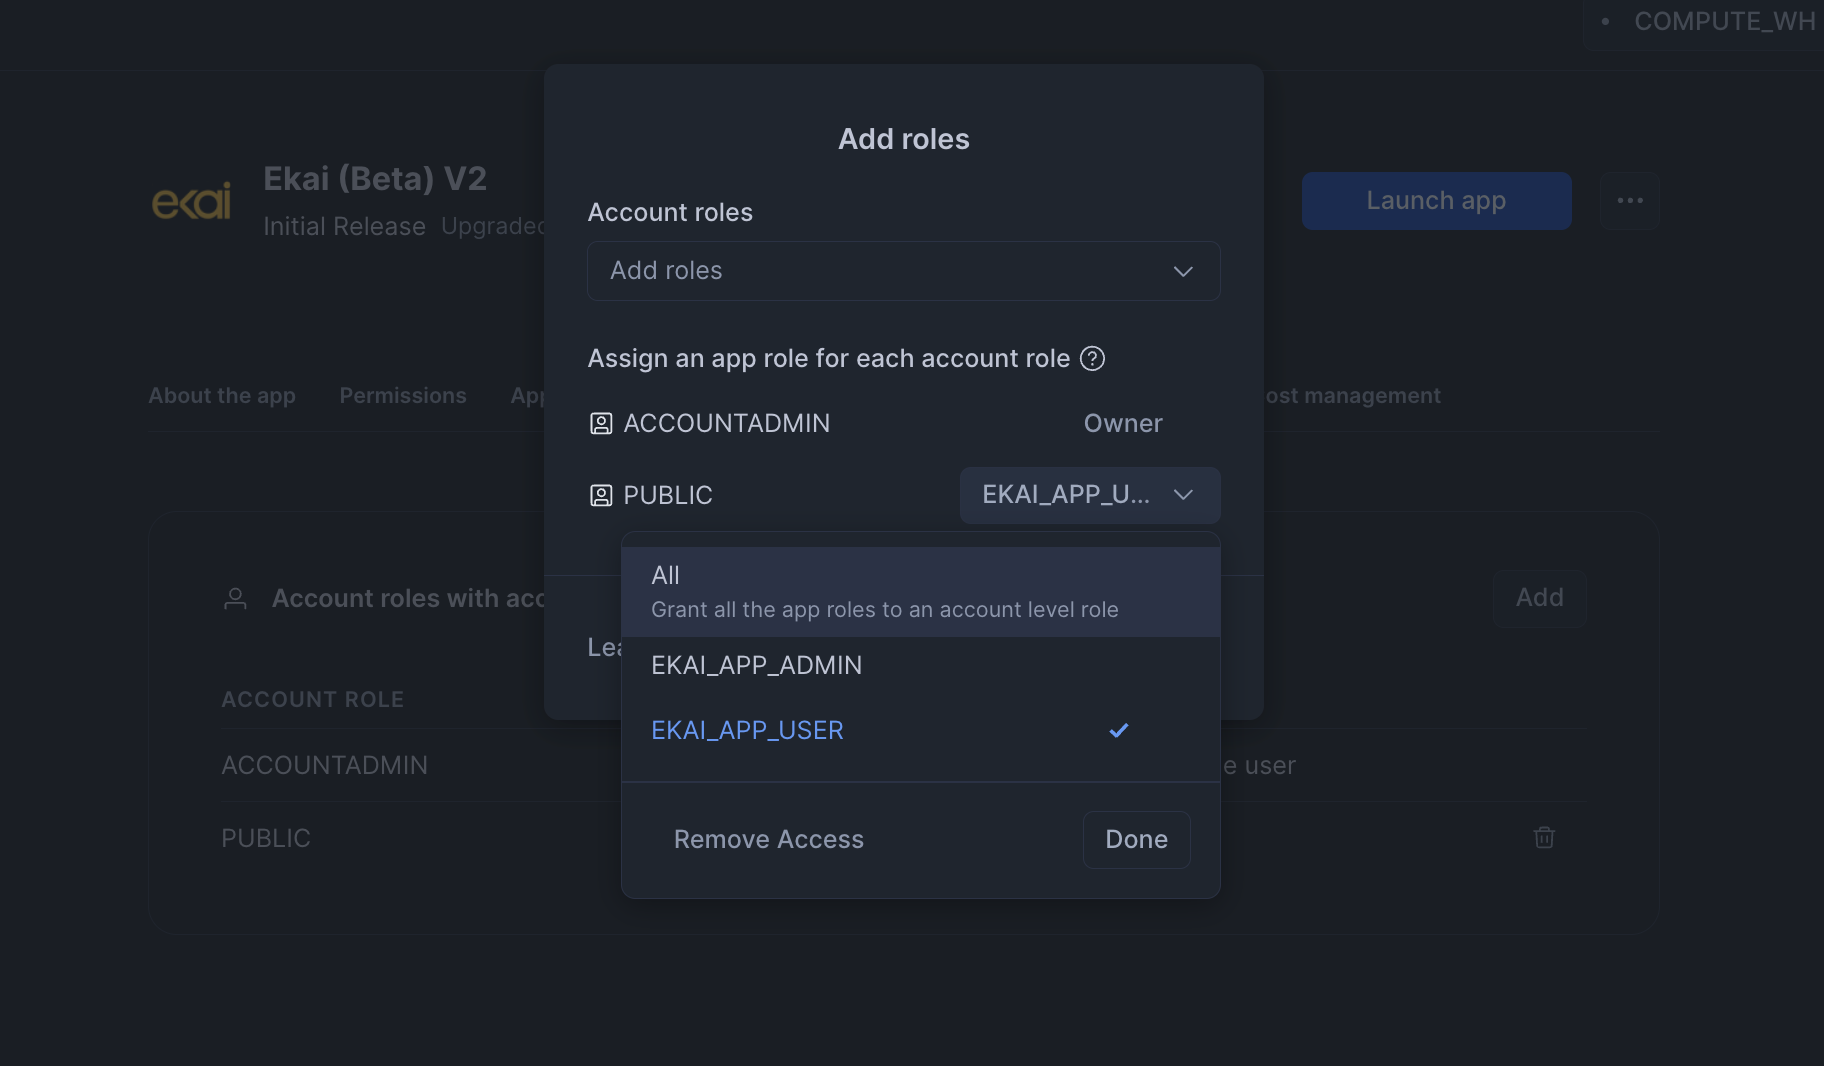
Grant the EKAI_APP_USER application role to the PUBLIC role to give all users access in one step.